Integrating OpenSeadragon with SolidJS
OpenSeadragon is a powerful, feature-rich, and flexible open-source JavaScript library for viewing high-resolution images. It is used by many websites to display high-resolution images. However, it’s written in plain JavaScript and doesn’t have any official bindings for SolidJS. In this article, we will see how to integrate OpenSeadragon with the SolidJS framework. It will be a little tricky, but we will get it done step by step.
Project Setup
Before we start, make sure you have a SolidJS project set up. You could follow either the official SolidJS documentation or use the Vite template for SolidJS.
In this article, we will use the Vite template for SolidJS. Run the following command to create a new SolidJS project using the Vite template:
pnpm create vite YOUR_PROJECT_NAME --template solid-ts
After creating the project, navigate to the project directory and install the required dependencies and start the development server:
cd YOUR_PROJECT_NAME
pnpm install
pnpm dev
Now let’s install OpenSeadragon library:
pnpm add openseadragon
We also need to setup the typings for OpenSeadragon:
pnpm add -D @types/openseadragon
Page Layout Setup
After creating the project, let’s set up the page layout. With tweaking the styles and App.tsx file a little bit, we can create a simple layout for our OpenSeadragon viewer.
// src/App.tsx
function App() {
  return (
    <>
      <div class="logos">
        <a href="https://solidjs.com" target="_blank">
          <img src={solidLogo} class="logo solid" alt="Solid logo" />
        </a>
        <a href="https://vitejs.dev" target="_blank">
          <img src={osdLogo} class="logo" alt="Vite logo" />
        </a>
      </div>
      <h1>Solid.js + OpenSeadragon</h1>
      <div class="viewer-container"></div>
    </>
  );
}
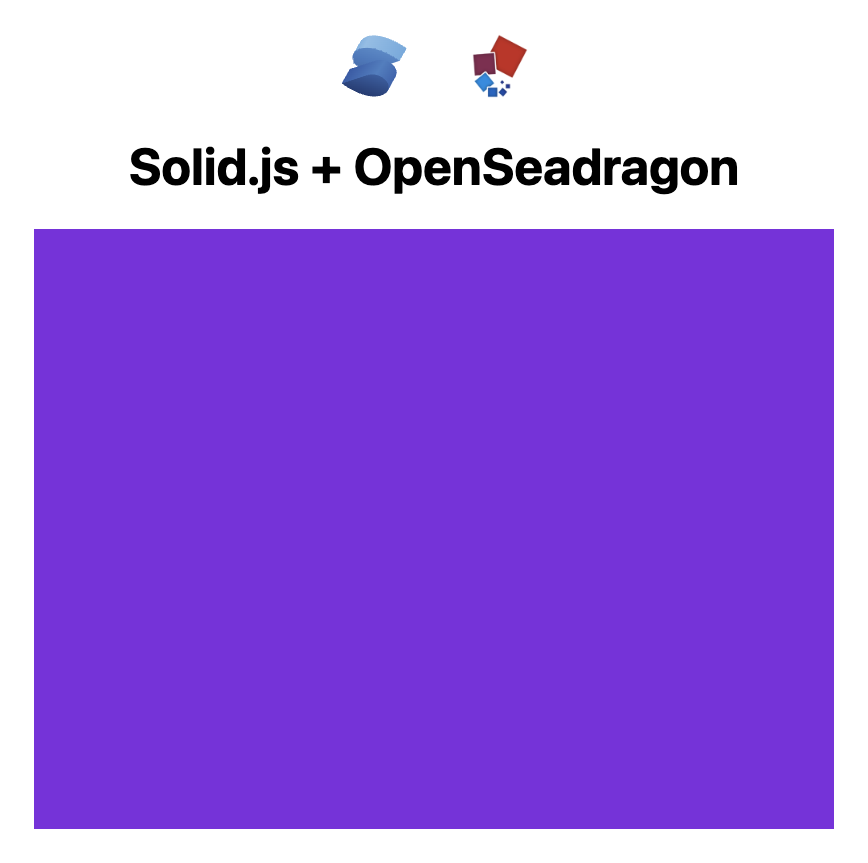
Now the page layout looks like this:

We haven’t added the OpenSeadragon viewer yet. We will add it in the violet container in the next step.
Integrating OpenSeadragon Component
To integrate OpenSeadragon with SolidJS, we need to create a custom component that renders the OpenSeadragon viewer. We will create a new file called viewer.tsx in the src/components directory and add the following code:
// src/components/viewer.tsx
import OpenSeadragon from "openseadragon";
import { onMount } from "solid-js";

const duomo = {
  Image: {
    xmlns: "http://schemas.microsoft.com/deepzoom/2008",
    Url: "//openseadragon.github.io/example-images/duomo/duomo_files/",
    Format: "jpg",
    Overlap: "2",
    TileSize: "256",
    Size: {
      Width: "13920",
      Height: "10200",
    },
  },
};

export default function OsdViewer() {
  onMount(() => {
    OpenSeadragon({
      id: "osd-viewer",
      tileSources: duomo,
      showNavigationControl: false,
    });
  });
  return (
    <div
      id="osd-viewer"
      style={{
        width: "696px",
        height: "510px",
      }}
    ></div>
  );
}
In the above code, we define a duomo object that contains the image information from the official OpenSeadragon example. Note that you can replace this object with your own image information, or even a URL to a Deep Zoom image.
Next, we create a OsdViewer component that renders a div element with the id of osd-viewer. We use the onMount hook to initialize the OpenSeadragon viewer when the component is mounted. onMount is essential because OpenSeadragon needs to be initialized after the component is mounted to the DOM.
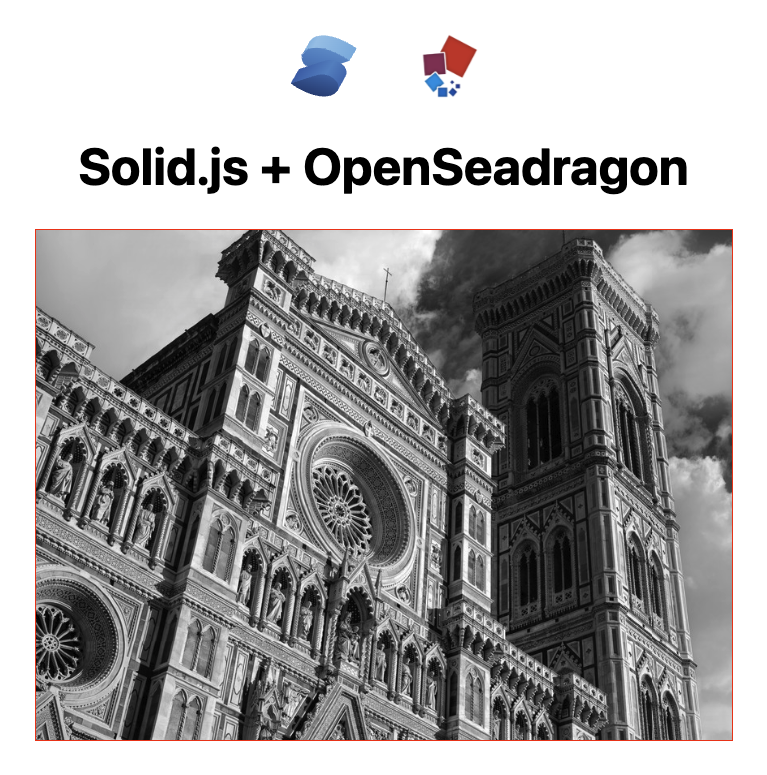
After importing the OsdViewer component in the App.tsx file, the image viewer will be rendered on the page:

Overlays
A common challenge when integrating OpenSeadragon with SolidJS is adding overlays to the viewer. Overlays are additional elements that are displayed on top of the image viewer. They can be used to display annotations, buttons, or other UI elements.
Adding an overlay may seem straightforward, but the challenge is to connect the OpenSeadragon Overlay API with SolidJS signals.
Now let’s create a simple signal that represents the overlays that could be added to the viewer.
// src/components/viewer.tsx
const INITIAL_OVERLAYS = [
  {
    id: "overlay1",
    x: 0.1,
    y: 0.1,
    width: 0.2,
    height: 0.2,
    className: "highlight",
  },
];

const [overlays, setOverlays] = createSignal(INITIAL_OVERLAYS);
Note that the x, y, width, and height values are relative to the viewer’s dimensions. For example, x: 0.1 means 10% from the left edge of the viewer. If you want to position the overlay at an absolute position, you can use the px etc. units.
Now let’s update the Viewer when the overlays change:
// src/components/viewer.tsx
createEffect(() => {
  overlays().forEach((overlay) => {
    if (viewer) {
      const element = document.createElement("div");
      element.className = overlay.className;
      viewer.addOverlay({
        element: element,
        location: new OpenSeadragon.Rect(
          overlay.x,
          overlay.y,
          overlay.width,
          overlay.height
        ),
      });
    }
  });

  onCleanup(() => {
    if (viewer) {
      viewer.clearOverlays();
    }
  });
});
In the above code, we use the createEffect hook to listen for changes to the overlays signal. When the overlays change, we iterate over each overlay and add it to the OpenSeadragon viewer using the addOverlay method. We also use the onCleanup hook to clear the overlays when the component is unmounted.
Lastly, let’s add a button to toggle the overlay:
// src/components/viewer.tsx
<div
  id="osd-viewer"
  style={{
    width: "696px",
    height: "510px",
    position: "relative",
  }}
>
  <button
    onClick={() => {
      if (overlays().length === 0) {
        setOverlays(INITIAL_OVERLAYS);
      } else {
        setOverlays([]);
      }
    }}
    style={{
      position: "absolute",

      top: "10px",
      right: "10px",

      "z-index": 1000,
    }}
  >
    {overlays().length === 0 ? "Add Overlay" : "Remove Overlay"}
  </button>
</div>
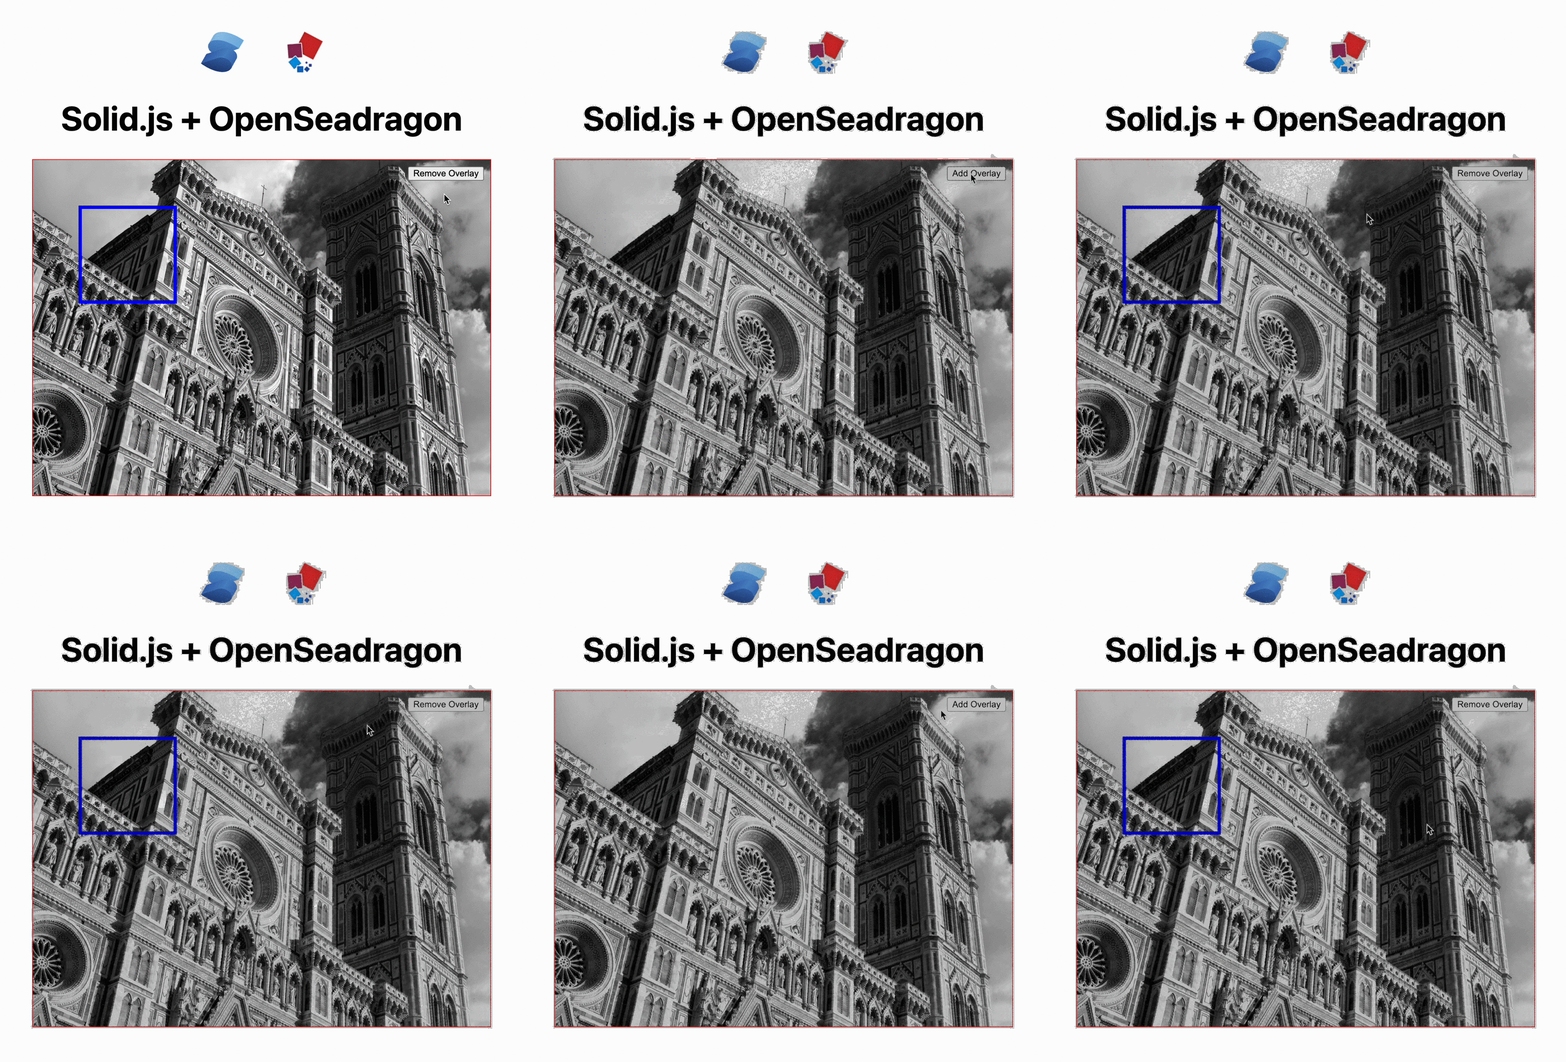
Let’s see the final result:

Conclusion
In this article, we have seen how to integrate OpenSejson with SolidJS. We have created a custom component that renders the OpenSeadragon viewer and added support for overlays. The source code for this article is available on GitHub. If you find this article helpful, please consider giving it a star.